
Most wall failures start before the first screw. Wrong anchor. Wrong hole size. Wrong wall type. Get those three right and shelves stay level, mirrors stay put, and tile stays crack-free.
The short playbook
Identify the wall. Estimate the load. Match the anchor and the hole size. Drill cleanly. When loads are high, hit a stud. A single lag in solid wood outperforms any hollow-wall anchor.
Refer this chart for a quick reference.
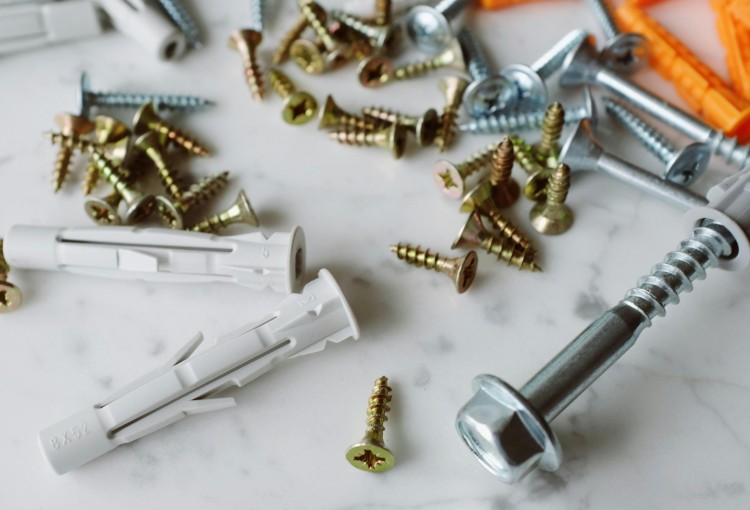
Drywall
For small frames and hooks under 15 lb, use ribbed plastic expansion anchors. Push in or pilot 3/16″. For 15–50 lb, choose a self-drilling metal anchor or a molly. The metal “Zip-It” is fast. A molly expands behind the sheet and resists loosening. For 50–100 lb, use toggles or SnapToggles. They need a 1/2″–5/8″ hole but deliver real grip. Above 100 lb, find a stud or spread the load with multiple toggles and a ledger.
Plaster + lath
Plaster is brittle and hides wood slats. Drill slowly. Tape the surface to limit chipping. Long mollies handle most jobs up to ~50 lb. For heavier items, use toggles through the cavity. Tighten by hand. Stop as soon as the plate touches the plaster.
Brick and concrete
For 75 lb and under, Tapcon screws are efficient. Use the exact pilot bit: 5/32″ for 3/16″ Tapcon and 3/16″ for 1/4″. Vacuum the dust from the hole or the screw will bind. For 75–200+ lb, use sleeve or wedge anchors. Drill the anchor’s stamped diameter. Aim for brick, not mortar, when possible.
Tile
Tile is a skin, not the structure. Anchor the substrate. Over drywall, light loads can use a plastic anchor in the drywall behind the tile. For heavier, find a stud or toggle through the drywall layer. Start with a carbide or diamond tile bit. No hammer mode. Slow speed with light pressure. Over masonry, step-drill the tile, then switch to a masonry bit and set a sleeve anchor in the brick or concrete.
Loads and drill sizes, at a glance
See the charts below:
Load-range chart: typical safe ranges for common anchors, with overlap shown.

Pilot-hole table: matching bits and screws for popular anchors. Use it to set your drill before you mark the wall.

Install methods that work
Stud mount: measure from a corner 16″ on center. Confirm with a stud finder. Pilot 1/8″–3/16″. Drive a lag screw with a washer.
Toggle in drywall: mark. Drill 1/2″. Insert and open the wings. Tighten until the plate is just snug. Do not crush gypsum.
Tapcon in masonry: mark. Drill the exact pilot. Vacuum the hole. Drive slowly. Stop at snug.
Through tile: tape the tile. Mark. Start with a small tile bit. Keep the bit cool. Enlarge to the required pilot for the substrate. Finish with the correct anchor behind the tile.
Why anchors fail
Wrong substrate choice. Oversized holes that let anchors spin. Undersized holes that crack tile or mushroom sleeves. Undersized screws in heavy toggles. Ignoring torque. Shelves create lever forces that feel heavier than their listed weight. Rate for the worst case.
Simple decisions that prevent problems
Use large washers to spread load and hide holes. Use two anchors instead of one for shelves. Do not mix metals outdoors. Retire tired holes unless the anchor spec allows reuse. For TVs, floating shelves, and anything children can pull, choose a stud first.
Conclusion
Anchor selection is a constraint problem. Wall type, load, and hole size set the outcome. Decide in that order. Drill accurately. Confirm your hardware with the pilot-hole table, then sanity-check against the load-range chart. When the numbers push the limits, find wood. That is the reliable way to hang once and be done.